ArgoCD - The Fancy Local Setup
ArgoCD is a Kubernetes-native continous delivery (CD) tool that follows GitOps principles. It treats the Git repos as the single source of truth for the desired state of the cluster. ArgoCD is a powerful tool that can be used to manage the lifecycle of your Kubernetes resources. In this post, I’ll walk you through how you can setup ArgoCD for local development with Minikube, and we will make our deployment a bit more fancy by making our ArgoCD public accessible using Cloudflare Tunnel. This is a great way to test your ArgoCD setup before deploying to a remote cluster.
Local kubernetes cluster with Minikube
I’m doing this on a Mac, and using Minikube to run a local Kubernetes cluster.
minikube start --driver=dockerAlso, we’ll need enable the ingress and ingress-dns addons (more detailed explanations below):
minikube addons enable ingressminikube addons enable ingress-dnsInstall ArgoCD
Installing ArgoCD on our local cluster is quite simple.
kubectl create namespace argocdkubectl apply -n argocd -f https://raw.githubusercontent.com/argoproj/argo-cd/stable/manifests/install.yamlThis creates a namespace called argocd and installs the ArgoCD resources under that namespace.
If you’re an SRE/DevOps engineer who is responsible for deploying and managing ArgoCD in your organization, I suggest that you study the content of the install.yaml to understand what has just happened. Basically, it contains the manifests of all resources (e.g. CRDs, RBAC, Secrets, Service Account, etc.) needed to run ArgoCD. And it’s often that those manifests are checked into the git repository of your organization’s infrastructure.
Access ArgoCD
We can verify that ArgoCD is running by checking the pods in the argocd namespace:
kubectl get pods -n argocdAnd you should see the list of pods running in the argocd namespace similar to what’s shown below.
NAME READY STATUS RESTARTS AGEargocd-application-controller-0 1/1 Running 0 8hargocd-applicationset-controller-67c79fccd-962l4 1/1 Running 0 8hargocd-dex-server-76686f75bd-999bq 1/1 Running 0 8hargocd-notifications-controller-588d87b767-dvpf9 1/1 Running 0 8hargocd-redis-59c6f8b4b5-x4bsw 1/1 Running 0 8hargocd-repo-server-57db679bf7-cqjr5 1/1 Running 0 8hargocd-server-67b6bf4f8d-t94sr 1/1 Running 0 8hAnd let’s also check the services in the argocd namespace:
kubectl get svc -n argocd
NAME                                      TYPE        CLUSTER-IP       EXTERNAL-IP   PORT(S)                      AGEargocd-applicationset-controller          ClusterIP   10.105.162.22    <none>        7000/TCP,8080/TCP            8hargocd-dex-server                         ClusterIP   10.111.144.208   <none>        5556/TCP,5557/TCP,5558/TCP   8hargocd-metrics                            ClusterIP   10.108.157.170   <none>        8082/TCP                     8hargocd-notifications-controller-metrics   ClusterIP   10.110.243.143   <none>        9001/TCP                     8hargocd-redis                              ClusterIP   10.101.145.107   <none>        6379/TCP                     8hargocd-repo-server                        ClusterIP   10.104.93.133    <none>        8081/TCP,8084/TCP            8hargocd-server                             ClusterIP   10.105.203.252   <none>        80/TCP,443/TCP               8hargocd-server-metrics                     ClusterIP   10.99.6.168      <none>        8083/TCP                     8h
To access the ArgoCD UI, we can do a port-forwarding to the argocd-server service:
kubectl port-forward svc/argocd-server -n argocd 8080:443And then we can access the ArgoCD UI at https://localhost:8080.
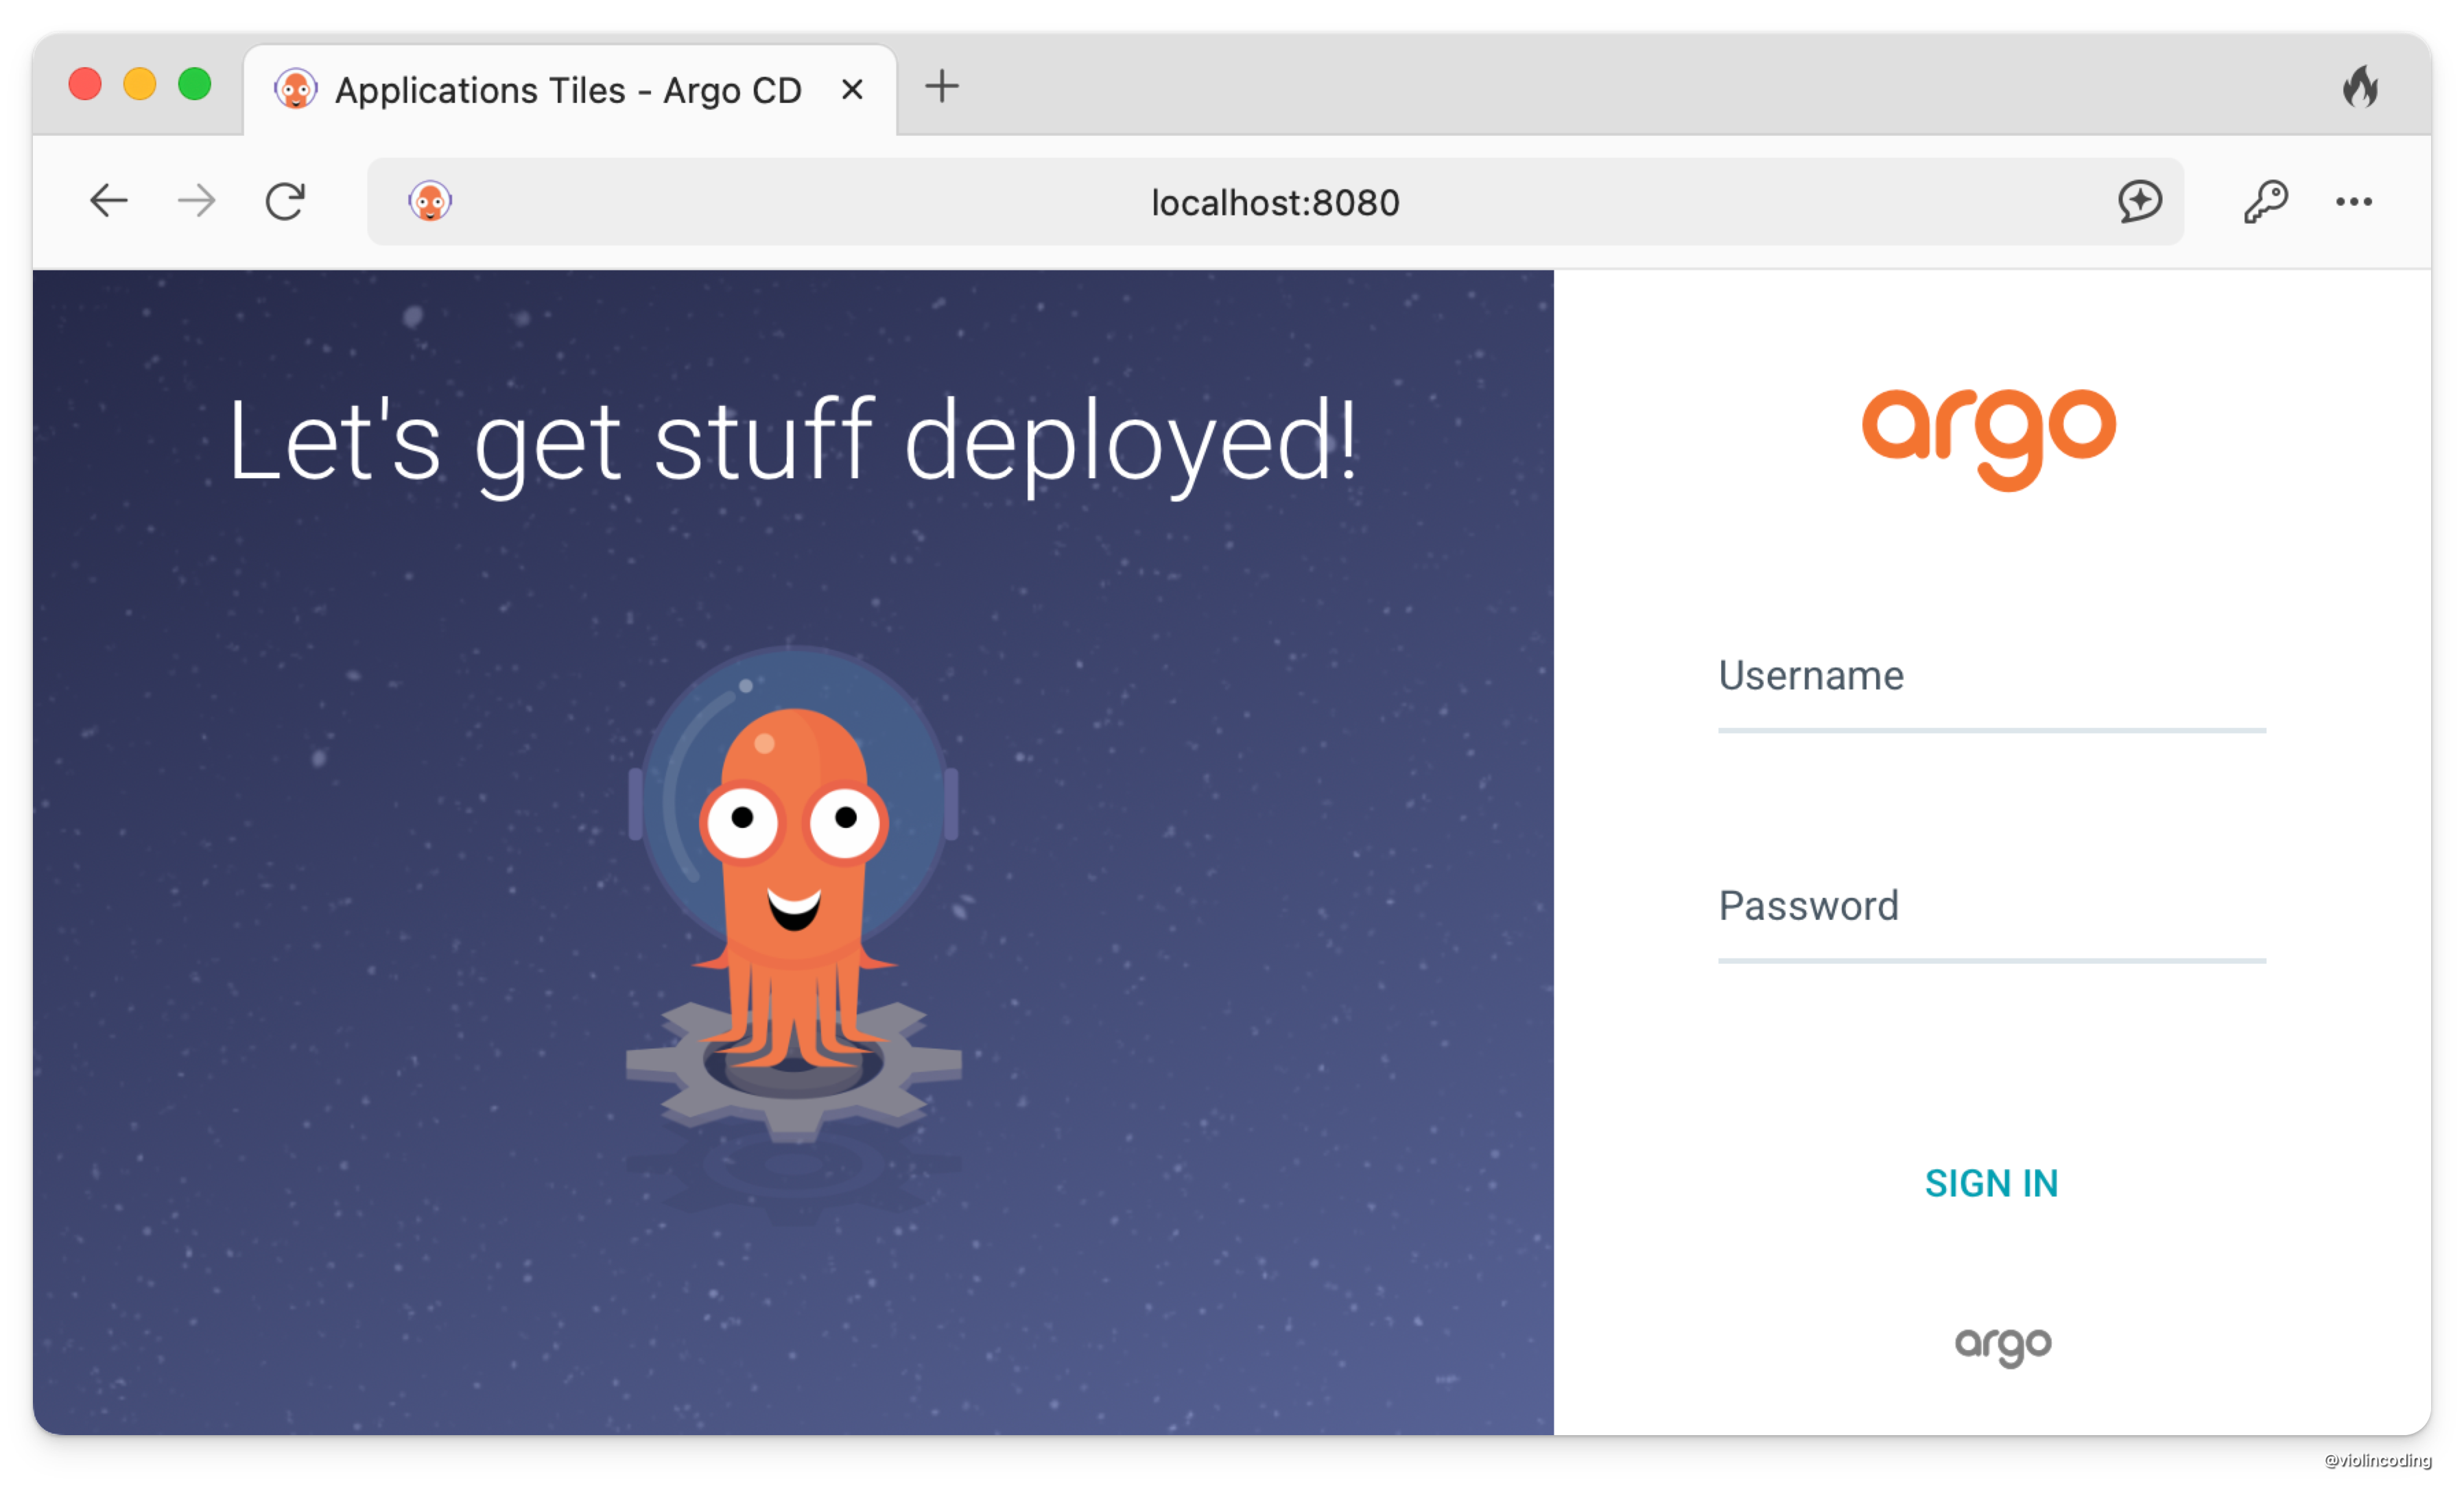
The default username is admin, and its password is kept in the argocd-initial-admin-secret secret.
kubectl get secret argocd-initial-admin-secret -n argocd -o jsonpath="{.data.password}" | base64 -dLocal DNS
It’s a bit annoying to have to port-forward every time we want to access the ArgoCD UI. We can leverage the ingress-dns addon to create a local DNS record for the ArgoCD UI, and have it accessible at https://argocd.minikube. Before moving, let’s make sure that we have enabled the ingress-dns in our minikube
minikube addons enable ingress-dnsFirst, we’ll need to add the minikube ip as a DNS server.
Create a file in /etc/resolver/argocd.minikube with the following contents:
domain minikubenameserver 192.168.49.2 # replace with your `minikube ip`search_order 1timeout 5Then, we’ll create a ingress rule for our ArgoCD
apiVersion: networking.k8s.io/v1kind: Ingressmetadata: name: argocd-server-ingress namespace: argocd annotations: nginx.ingress.kubernetes.io/ssl-passthrough: "true" nginx.ingress.kubernetes.io/backend-protocol: "HTTPS"spec: ingressClassName: nginx rules: - host: argocd.minikube http: paths: - path: / pathType: Prefix backend: service: name: argocd-server port: number: 443Apply the ingress rule:
kubectl apply -f argocd-server-ingress.yamlNow, you should be able to access the ArgoCD UI at https://argocd.minikube .
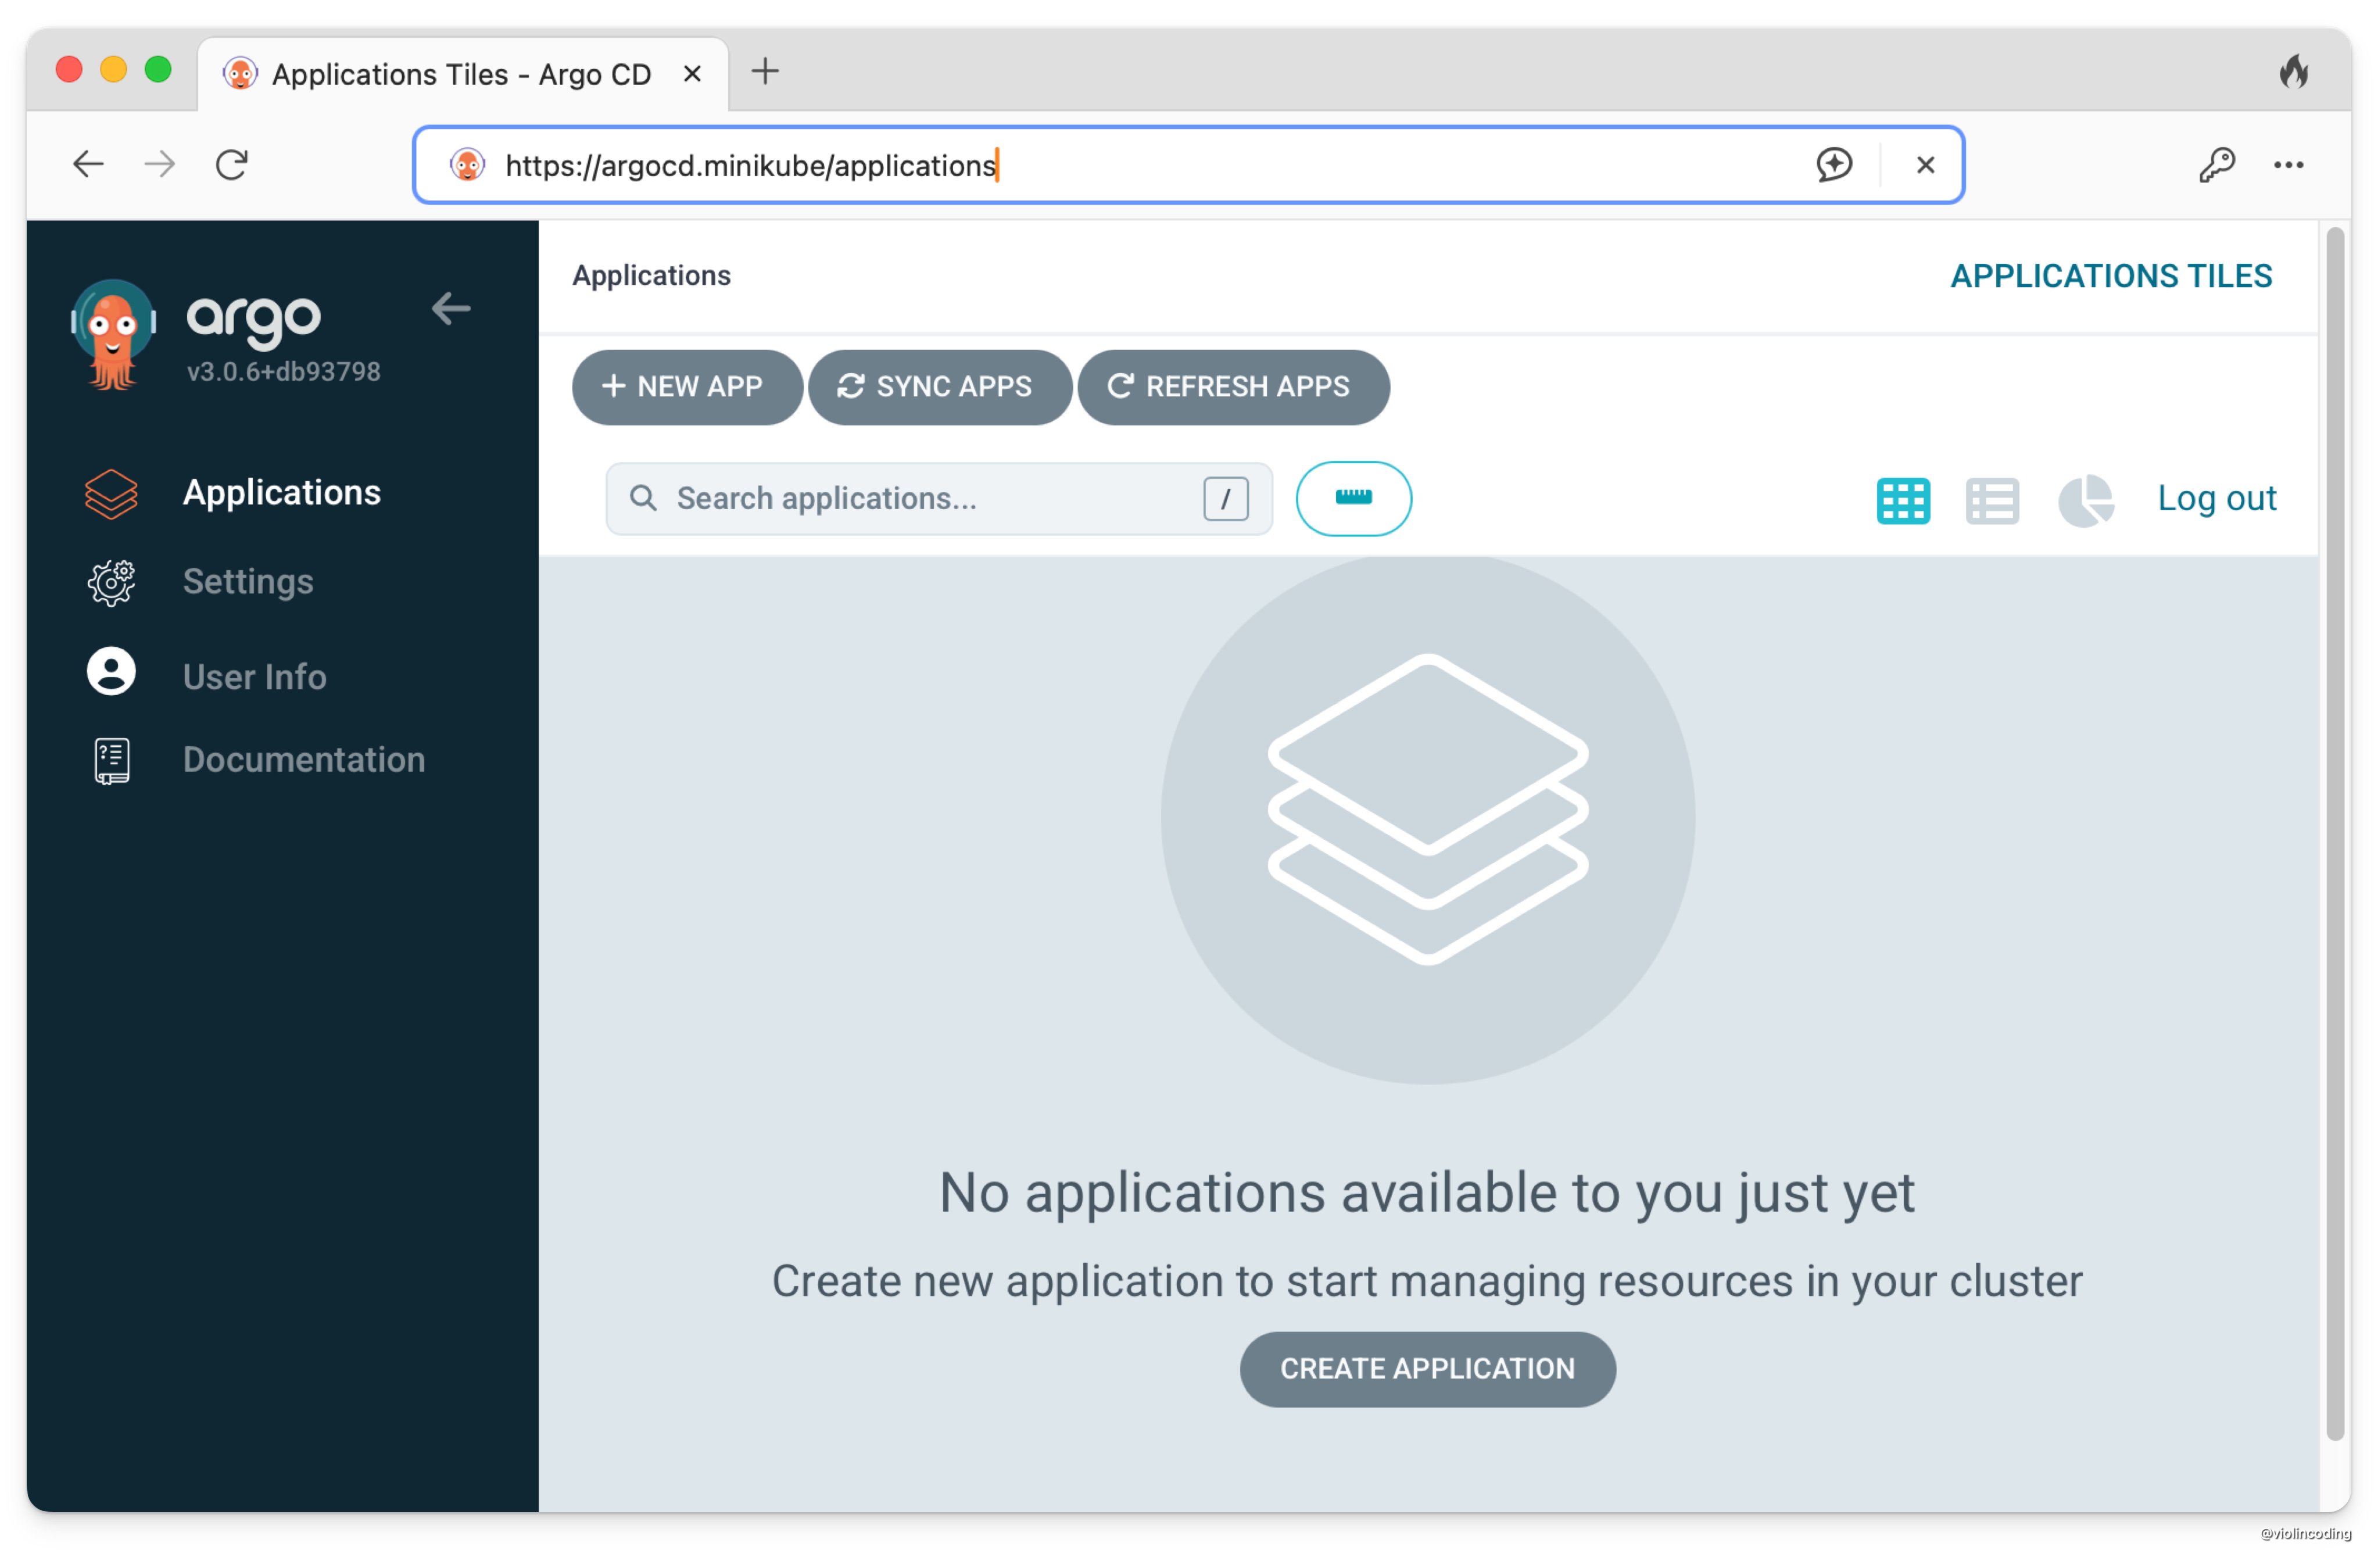
And voila! We now have an ArgoCD deployment in our local k8s cluster that is accessible via a local domain.
Cloudflare Tunnel
Here comes the fancy part of our setup. You can actually make our ArgoCD UI accessible via a public domain so you can share it with your teammates. We’ll use Cloudflare Tunnel to achieve this.
Cloudflare Tunnel runs a lightweight cloudflared daemon on your machine or server, creating a secure, outbound-only tunnel to Cloudflare’s global edge network—so your Argo CD UI can be exposed publicly without opening incoming firewall ports or needing a public IP. You can a DNS record at that tunnel and Cloudflare will securely route browser traffic through its network into your local Argo CD instance, with full support for Zero‑Trust authentication, HTTPS, and firewall protection.
A prerequisite for this is that you have a Cloudflare account and a domain managed by Cloudflare.
You can use clickops (i.e., Cloudflare’s dashboard) to create a tunnel. However, I prefer to use the CLI to create a tunnel.
First, install the cloudflared CLI:
brew install cloudflaredThen log into your Cloudflare account, here you can select the domain you want to use for the tunnel.
cloudflared tunnel loginThen, create a tunnel:
cloudflared tunnel create argocd-minikube-mbpIf your cloudflared is setup correctly, the tunnel should be created and you should see the following output:
Tunnel credentials written to /Users/<you-username>/.cloudflared/<your-tunnel-id>.json. cloudflared chose this file based on where your origin certificate was found. Keep this file secret. To revoke these credentials, delete the tunnel.
Created tunnel argocd-minikube-mbp with id <your-tunnel-id>
Next, we create a configuration file at ~/.cloudflared/config.yml for this tunnel with the following contents:
tunnel: <your-tunnel-id>credentials-file: /Users/$USER/.cloudflared/<your-tunnel-id>.json
ingress:  - hostname: argocd.violincoding.com    service: https://argocd.minikube    originRequest:      noTLSVerify: true  - service: http_status:404
In this case, I have a domain violincoding.com managed by Cloudflare, so I’ll use argocd.violincoding.com as the hostname for the tunnel.
And you can start the tunnel by running
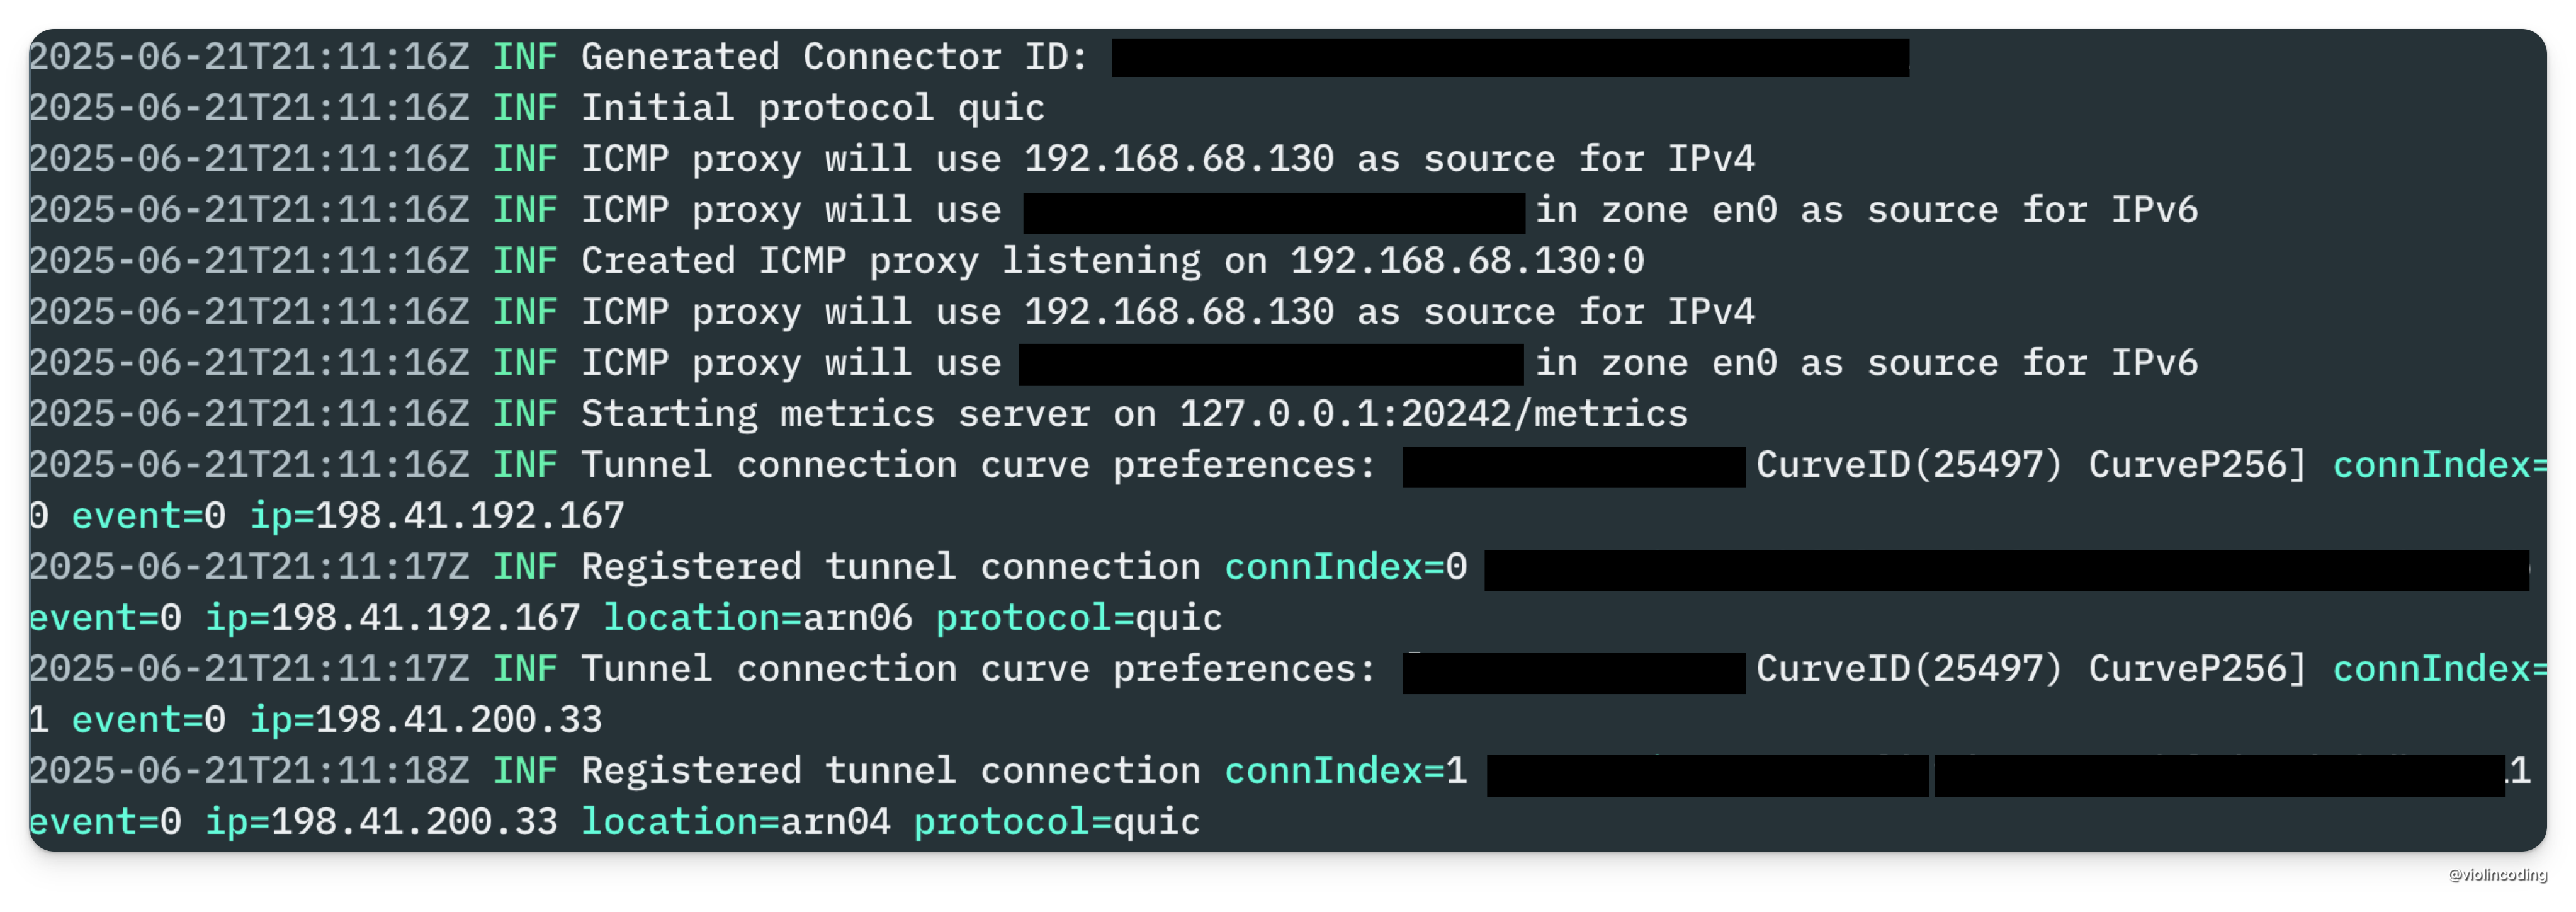
cloudflared tunnel run argocd-minikube-mbpAnd the log stream should look like this:
And ArgoCD should be accessible at https://argocd.violincoding.com.
There is one problem with this setup though. If we stop our terminal, the tunnel will stop running. We can fix this by running the tunnel in the background.
In MacOS, we can create a launch daemon to run the tunnel in the background.
Create a file at /Library/LaunchDaemons/com.cloudflare.cloudflared.plist with the following contents:
<?xml version="1.0" encoding="UTF-8"?><!DOCTYPE plist PUBLIC "-//Apple//DTD PLIST 1.0//EN" "http://www.apple.com/DTDs/PropertyList-1.0.dtd"><plist version="1.0"> <dict> <key>Label</key> <string>com.cloudflare.cloudflared</string> <key>ProgramArguments</key> <array> <string>/opt/homebrew/bin/cloudflared</string> <string>tunnel</string> <string>run</string> <string><your-tunnel-id></string> </array> <key>RunAtLoad</key> <true/> <key>StandardOutPath</key> <string>/Library/Logs/com.cloudflare.cloudflared.out.log</string> <key>StandardErrorPath</key> <string>/Library/Logs/com.cloudflare.cloudflared.err.log</string> <key>KeepAlive</key> <dict> <key>SuccessfulExit</key> <false/> </dict> <key>ThrottleInterval</key> <integer>5</integer> </dict></plist>And then load the launch daemon:
launchctl load /Library/LaunchDaemons/com.cloudflare.cloudflared.plistlaunchctl start com.cloudflare.cloudflaredAnd now if you go to https://argocd.violincoding.com, you should be able to access the ArgoCD UI.
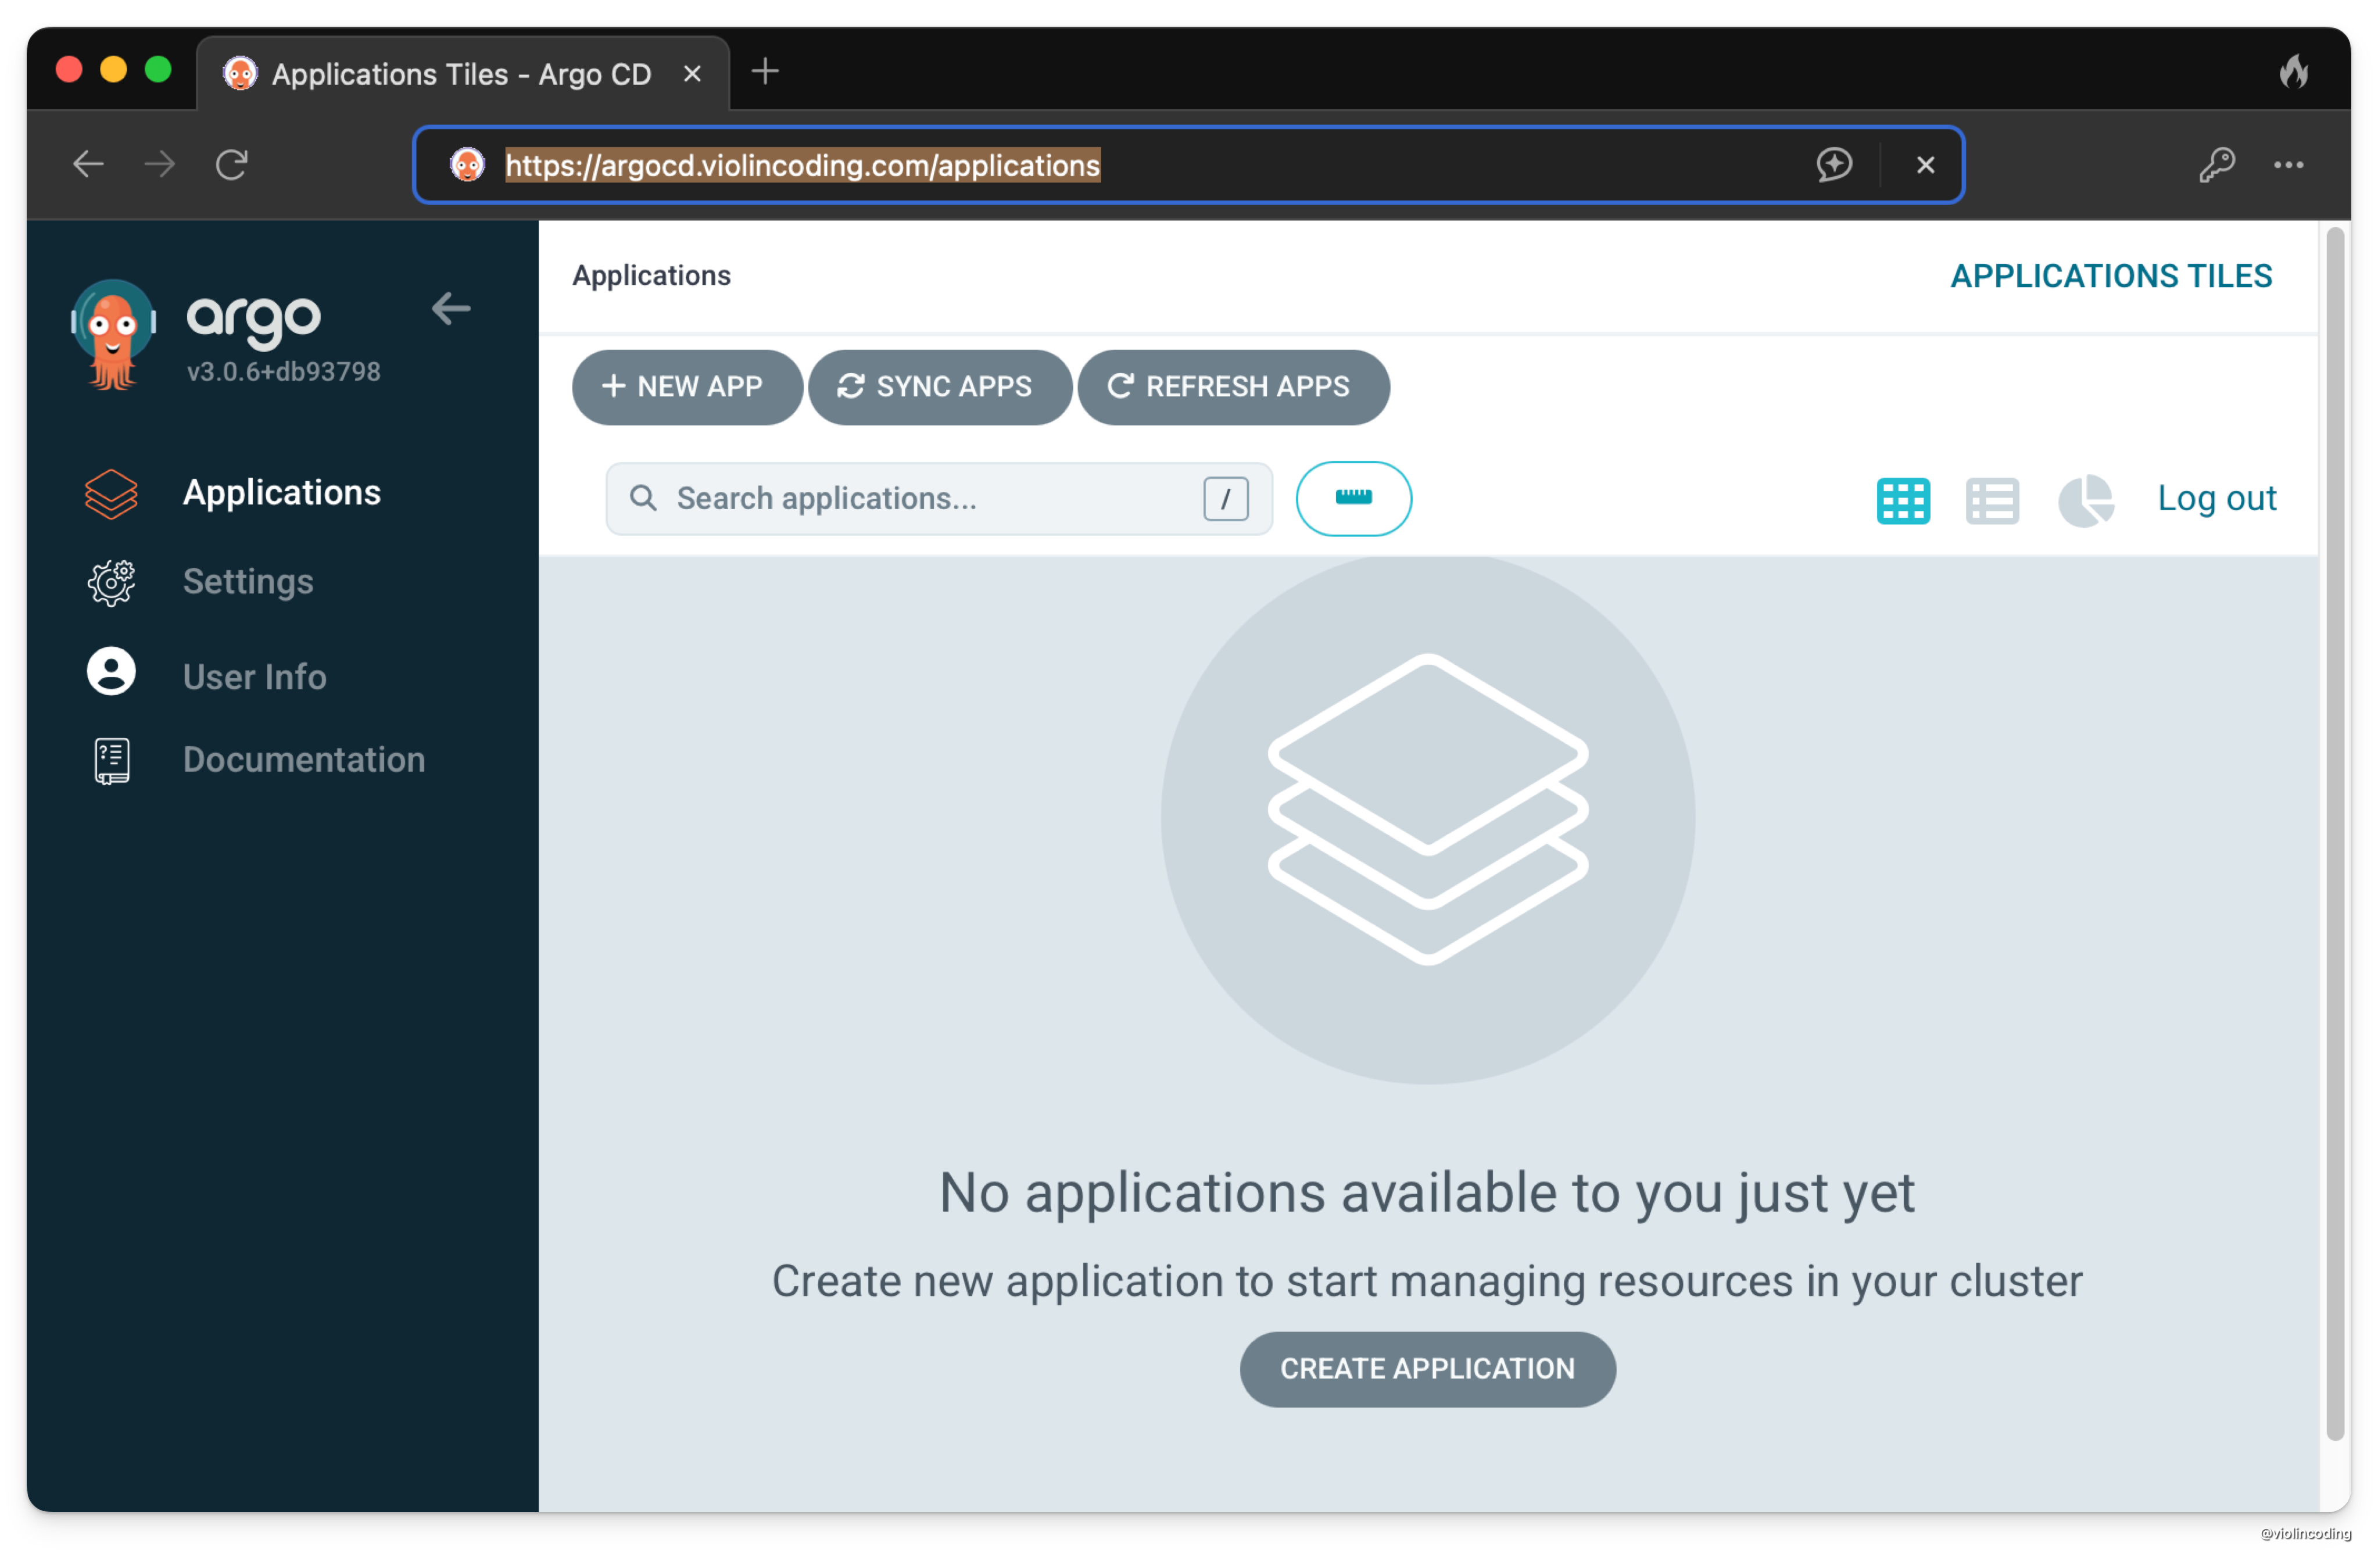
Sweet! We now have an ArgoCD deployment in our local k8s cluster that is accessible via a public domain.
Clean up
Here is how you can clean up the resources we’ve created.
- Delete the tunnel:
cloudflared tunnel delete <your-tunnel-id>- Delete the launch daemon:
launchctl unload /Library/LaunchDaemons/com.cloudflare.cloudflared.plistlaunchctl stop com.cloudflare.cloudflaredsudo rm /Library/LaunchDaemons/com.cloudflare.cloudflared.plist- Remove everything in the
argocdnamespace:
kubectl delete namespace argocdConclusion
In this post, I’ve showed you how to setup ArgoCD in a local development environment using Minikube, and how to make it publicly accessible using Cloudflare Tunnel. This is a great way to test your ArgoCD setup before deploying to a remote cluster.